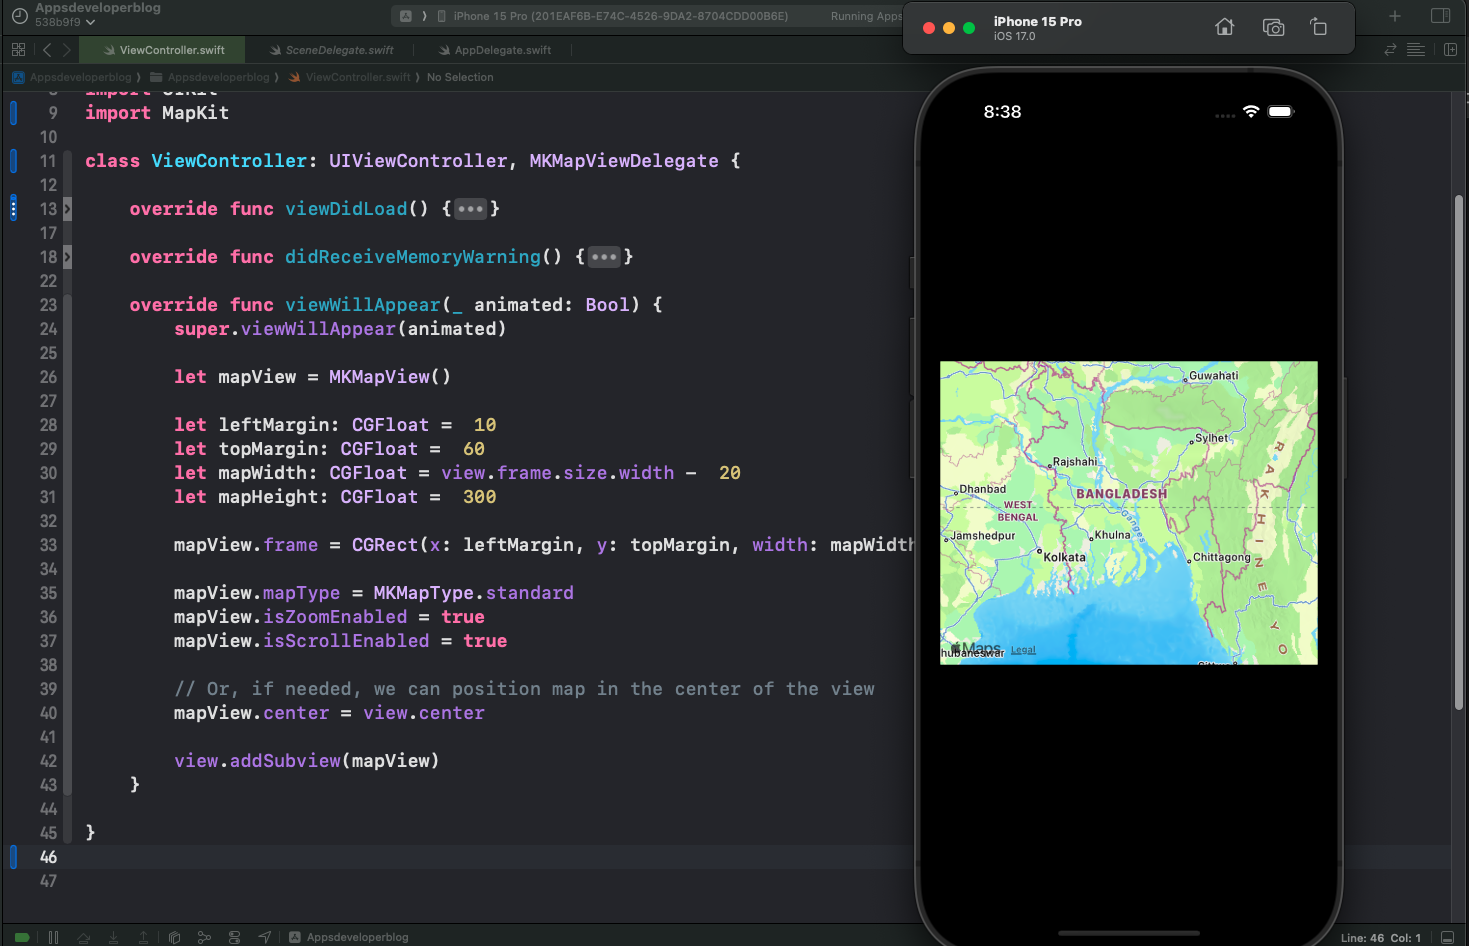
In this tutorial, you will learn how to create a MKMapView programmatically in Swift. By the end of this tutorial, you will have a complete code example with a map view that users can interact with, utilizing the built-in map capabilities of iOS.
Let’s jump into the steps:
Step 1: Import MapKit into Your Xcode Project
To use MKMapView, you first need to import the MapKit framework into your Swift project. You can do this by adding the following line at the top of your Swift file, right after the import UIKit statement:
import UIKit
import MapKit
Step 2: Create MKMapView Programmatically
After importing MapKit, you can create an instance of MKMapView programmatically. This can be done within the viewWillAppear(_:) method of your view controller. Here’s how you can create a new MKMapView:
let mapView = MKMapView()
Step 3: Position MKMapView at the Specified Location within the View
Next, you need to define the frame for your MKMapView so that it appears in the desired location within your view. You can set the frame using a CGRect and the frame property of your MKMapView:
let leftMargin: CGFloat =  10
let topMargin: CGFloat =  60
let mapWidth: CGFloat = view.frame.size.width -  20
let mapHeight: CGFloat =  300

mapView.frame = CGRect(x: leftMargin, y: topMargin, width: mapWidth, height: mapHeight)
Step 4: Set Map Type to MKMapType.Standard
By default, the map view will display a standard map. However, you can explicitly set the map type to ensure it is set to the standard type:
mapView.mapType = MKMapType.standard
There are several map types available, each offering a different visual style. Such as Maptype.satellite . This map type shows satellite imagery of the area without any geographical features. It’s useful for getting a bird’s-eye view of the terrain. Learn more about different map types in MKMapView.
Step 5: Enable Map View Zoom and Scrolling
To allow users to zoom in and out and scroll the map, you need to enable these features:
mapView.isZoomEnabled = true
mapView.isScrollEnabled = true
Step 6: Add MapView as a Subview
Finally, you can add the MKMapView as a subview to your view controller’s view. This will make the map view visible on the screen:
view.addSubview(mapView)
MKMapView: Complete Code Example
Below is the complete code example that puts all the above steps together:
import UIKit
import MapKit

class ViewController: UIViewController, MKMapViewDelegate {

    override func viewDidLoad() {
        super.viewDidLoad()
        // Do any additional setup after loading the view, typically from a nib.
    }

    override func didReceiveMemoryWarning() {
        super.didReceiveMemoryWarning()
        // Dispose of any resources that can be recreated.
    }

    override func viewWillAppear(_ animated: Bool) {
        super.viewWillAppear(animated)

        let mapView = MKMapView()

        let leftMargin: CGFloat =  10
        let topMargin: CGFloat =  60
        let mapWidth: CGFloat = view.frame.size.width -  20
        let mapHeight: CGFloat =  300

        mapView.frame = CGRect(x: leftMargin, y: topMargin, width: mapWidth, height: mapHeight)

        mapView.mapType = MKMapType.standard
        mapView.isZoomEnabled = true
        mapView.isScrollEnabled = true

        // Or, if needed, we can position map in the center of the view
        mapView.center = view.center

        view.addSubview(mapView)
    }

}

Conclusion
With these steps, you have successfully created a MKMapView programmatically in Swift. I hope this tutorial was helpful to you.
To learn more about Swift and to find other code examples, check the following page: Swift Code Examples.
Keep coding, and happy learning!